
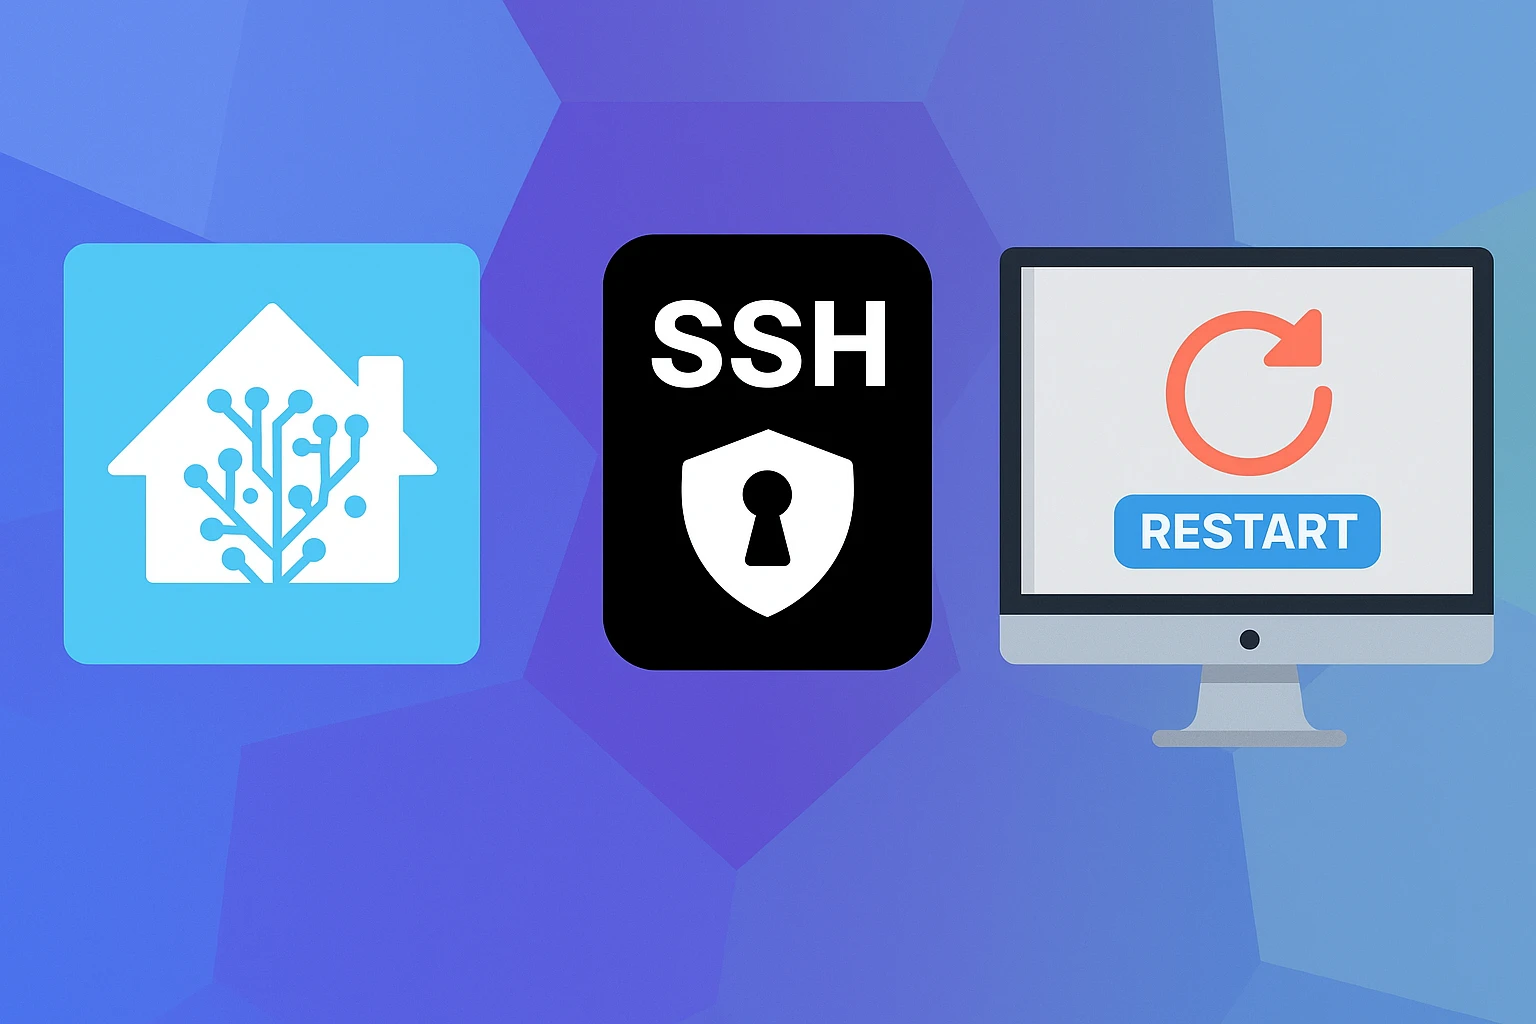
Goal
Allow Home Assistant to securely restart Apache on a remote server (e.g. AWS Lightsail instance) at the press of a button. This is ideal when a rarely unstable website goes down and a manual restart is sufficient, but you want the flexibility to trigger it from anywhere — even your phone.

Step 1: Generate an SSH Key Pair in Home Assistant
In Home Assistant Terminal or Studio Code Server:
mkdir -p /config/.ssh
chmod 700 /config/.ssh
ssh-keygen -t rsa -b 2048 -f /config/.ssh/id_rsa- Press Enter twice when prompted for a passphrase (skip it for automation).
- Key files:
- Private:
/config/.ssh/id_rsa - Public:
/config/.ssh/id_rsa.pub
- Private:
This directory is persistent across HAOS upgrades.
Step 2: Add the Public Key to Your Lightsail Server
- Open Studio Code Server, copy contents of
/config/.ssh/id_rsa.pub - Log into Lightsail browser SSH and run:
mkdir -p ~/.ssh
nano ~/.ssh/authorized_keys- Paste the public key on a new line. Do not remove existing keys.
- Save and exit (
Ctrl+O,Enter,Ctrl+X) - Set correct permissions:
chmod 700 ~/.ssh
chmod 600 ~/.ssh/authorized_keys
Step 3: Test SSH from Home Assistant
ssh -i /config/.ssh/id_rsa bitnami@<SERVER_IP> 'echo connected'If prompted with “Are you sure you want to continue connecting?“, type yes. It will only prompt this once and you should see connected
Step 4: Test Restart Command Manually
From HAOS Terminal:
ssh -i /config/.ssh/id_rsa bitnami@<SERVER_IP> 'sudo /opt/bitnami/ctlscript.sh restart apache'If it works, you’ll see Restarted apache.
Note, that I am using Bitnami WordPress on AWS Lightsail instance. In your case you may have different user and different command to run, but you can adopt this easily. MAin goal here was to login via SSH from HAOS and execute a command
Optional: Allow sudo without password
sudo visudoAdd:
bitnami ALL=(ALL) NOPASSWD: /opt/bitnami/ctlscript.shStep 5: Add Shell Command to configuration.yaml
shell_command:
  restart_apache_service: >
    ssh -i /config/.ssh/id_rsa -o StrictHostKeyChecking=no bitnami@<SERVER_IP> 'sudo /opt/bitnami/ctlscript.sh restart apache'
You can add more servers by duplicating this entry with different names and IPs.
Step 6: Create a Script in Home Assistant
You can do with UI builder, but I am going to post yaml here. Just paste this yaml, then switch to UI mode if needed.
In Settings → Automations & Scenes → Scripts → + Add Script:
sequence:
  - action: shell_command.restart_apache_service
    data: {}
  - action: persistent_notification.create
    data:
      message: Apache Service Restarted
      title: Website
alias: Restart Apache Service
description: ""
Step 7: Add a Button to Your Dashboard
In a dashboard card (Edit → Add Card → Button), use this YAML:
show_name: true
show_icon: true
type: button
name: Restart Apache Service
icon: mdi:server
tap_action:
  action: perform-action
  confirmation:
    text: Are you sure you want to restart Apache service?
  perform_action: script.restart_apache_service
  target: {}
show_state: false
The confirmation prevents accidental restarts.
Notes
frontend.toastwas tested but is unreliable unless the action is UI-triggered. Persistent notifications are more dependable.- The same RSA key pair can be reused across all servers.
- You can monitor server status separately with command_line sensors.
Done ✅
You now have remote server control through Home Assistant with:
- Secure SSH
- A dashboard button
- Confirmation prompt
- Visible notification on completion
This is a solid setup for manually triggered, controlled intervention when a website occasionally goes down.
Leave a Reply